How to create GDRP message for Adsense in 5 min.
Today I Will talk about how to create GDRP message for a Google AdSense account. It is a very easy way to create. If you spend 10-15 minutes, this problem will be solved.
There are actually 14 steps for Google Adsense GDRP message creation. these steps are following below:
- Sign in to your Adsense account.
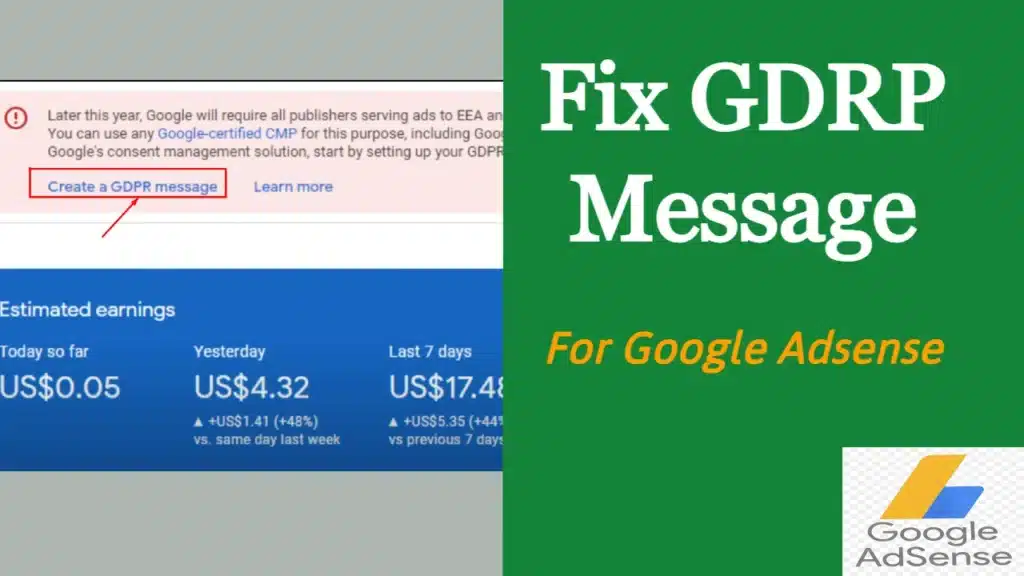
- Click on the showing message ( Create a GDRP message).
- Click on the button Create a GDRP message for page creation starts.
- Then click on Select Sites
- Select the desired sites under this Adsence account.
- Language Selection.
- Choose better User consent options.
- Click Continue.
- Enter message name.
- Enter the site’s privacy policy URL and
- Finally, click on the Save button.
Now I will show and discuss this GDRP creation in only 5 steps without any type of error. So Let’s start.
What is GDRP Message for Adsense
GDRP means General Data Protection Regulation. It is legislation that updates and unifies data privacy laws across the European Union (EU). Though this is a recent updation for Google Adsense. This GDRP was approved on 14 April 2016 by the EU.
It is called GDRP the Strongest privacy and security law in the world. So we should be careful about our illegal activity on our corresponding websites.
How to create GDRP message for Adsence
To create a GDRP message first sign up for your Google Adsense account. Click on to the warning button. Then click Create GDRP Message and set the Message name. After that click on Select Site and set your website’s privacy policy URL & name and click Save. Now turn on user consent ( do not and close both). At last click on Publish then the GDRP message will be created successfully.
Step-1: Sign in to your Google AdSense Account
First log in to your Google Adsense Account. Then go to Privacy and Messaging option. Finally, click on the GDRP option.

Srep-2: Create GDRP Message
Click on the button name “Create GDRP Message“. After clicking on it you will see a new interface and your work will be started from now.

In the new interface, many options will arise. First, you have to select the message name like ( GDRP Policy). then click on sites.

Step-3: Site Selection Settings
Under Site Selection, you have to click on the first select site button.
In this Section, you have to select all sites under this Adsence account. For that, you have to set every site name, privacy policy URL, and site Logo.

After filling up all requirements click on the confirm button below. Your Create GDRP Message is almost 60% done by these steps.
Step-4: User Consent option creation
User consent is the most important part of create GDRP message. In this part, select the language type (like English) and turn on the Do Not Consent and Close (do not Consent) options.

Step-5: Click on the Publish button
This is the final steps of creating GDRP Message for Google Adsense account. After checking and completing all of the steps properly you should click on the publish button for GDRP Message publication.

After publishing, it will take some time for initialization. When your GDRP message is ready you will see a dashboard like this. Here will include how many times the message is shown to your users. Secondly, you will monitor UK and EU traffic rates also Consent Rates.

Adsense GDRP Consent Message
A GDPR message contains multiple pages that are shown to users depending on which buttons and links they click in your messages. The button options presented to users are based on your selections in the “User consent options” section during message creation.